
How to Install Milwaukee M18 Battery Buttons
Before you start
Only remove the exterior top cover to replace the buttons. Do not access the battery cells, BMS or electrical components.
- Remove the battery from the tool and charger.
- Only work on a cool, dry, undamaged battery.
- Do not touch or bridge the battery terminals with metal tools.
- Stop if the battery is swollen, leaking, hot, smoking, smells unusual, has damaged casing, or exposes internal parts.
You’ll need: your Milwaukee Z Battery Buttons, the two original springs, a T10 bit for the outer screws and a T8 bit for the retaining plate.
Check the applicable manufacturer warranty terms before modifying your battery.
Billy Jobson (The Tool Medic) · @jobsons_tools
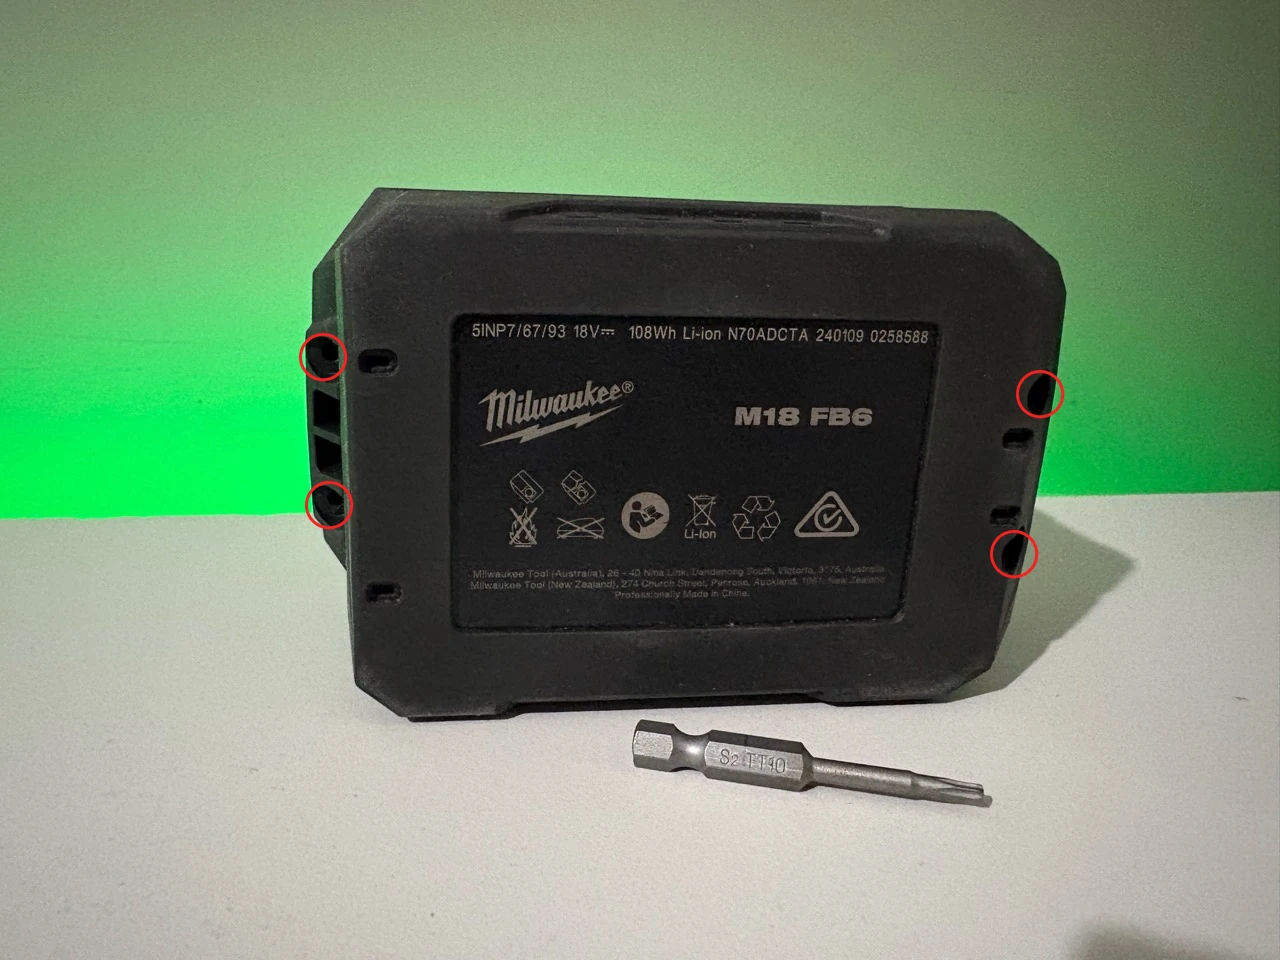
1. Undo the four top screws and lift off the top cover.
Use a T10 bit. Keep the battery flat and lift the cover straight off. Set the battery body aside; the remaining button-fitting work is done inside the detached lid.
Only remove the exterior top cover. Do not touch the terminals, metal contacts, circuit board, cells, or any internal parts.
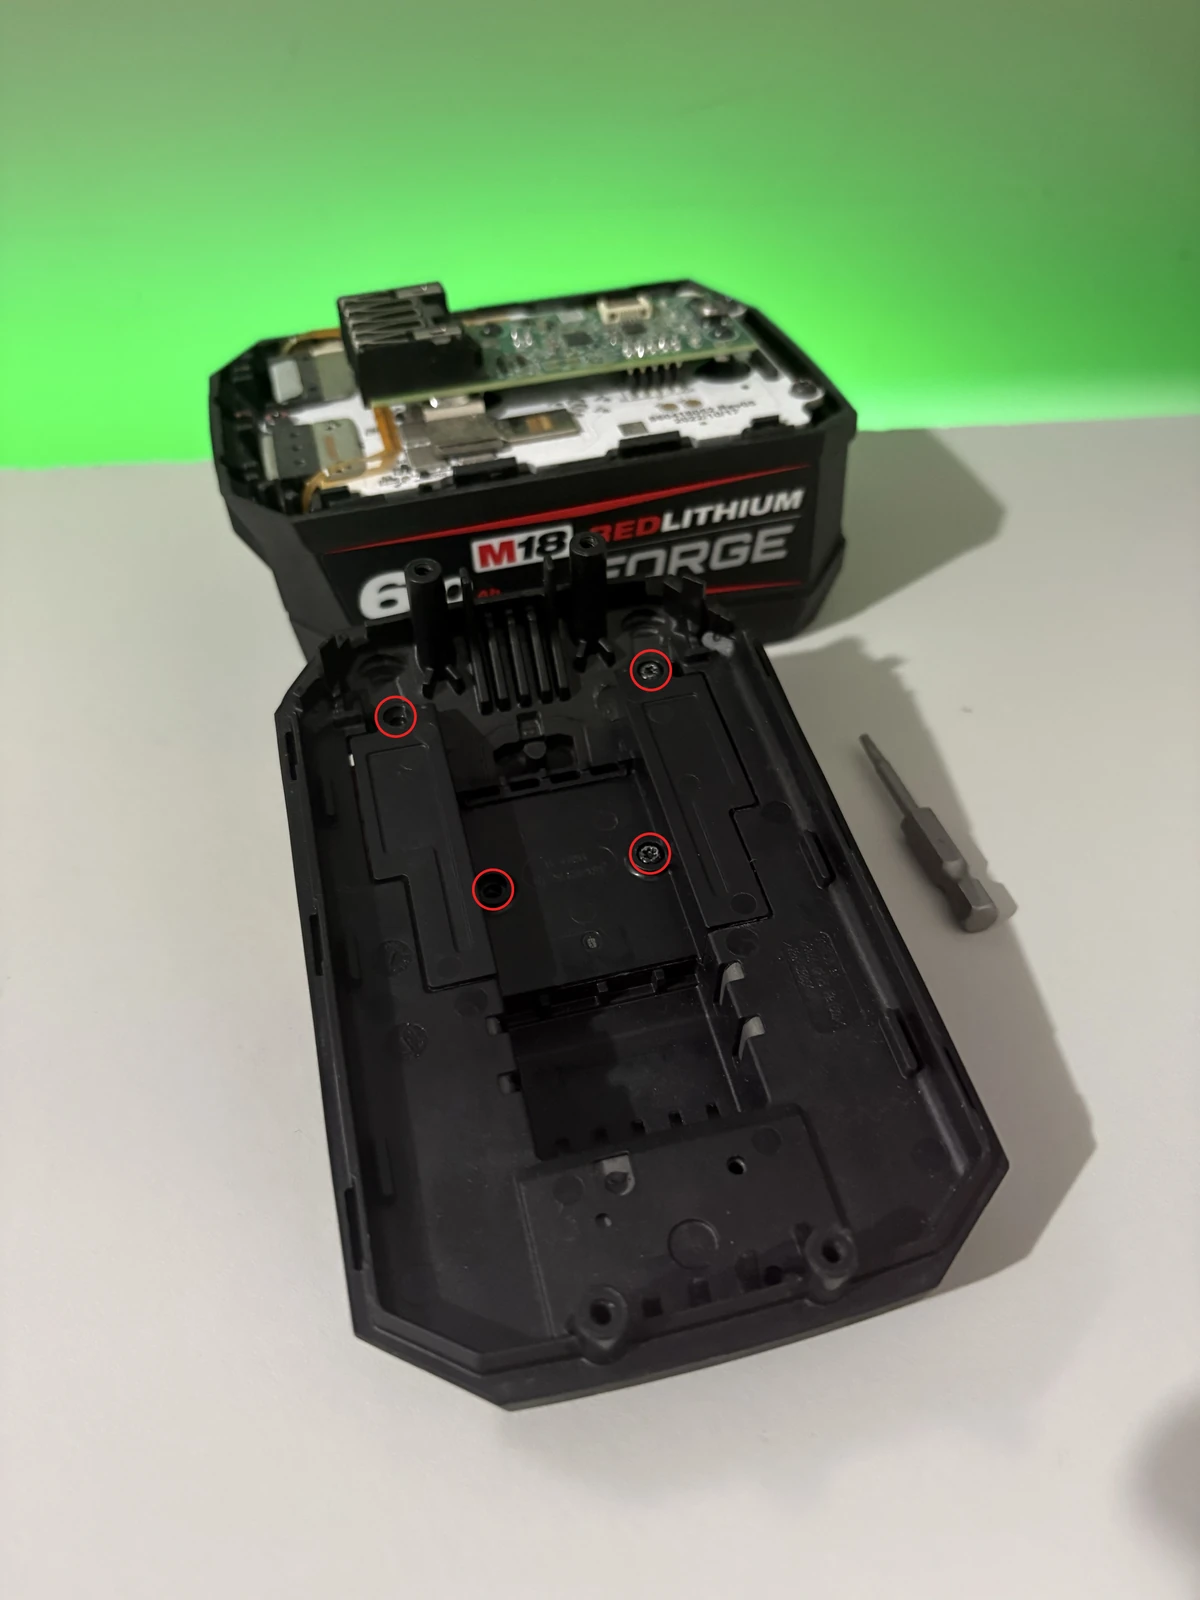
2. Remove the retaining plate.
Turn the lid over and undo the four T8 screws. Squeeze both buttons inward and lift out the retaining plate. Keep the two original springs for your new buttons.
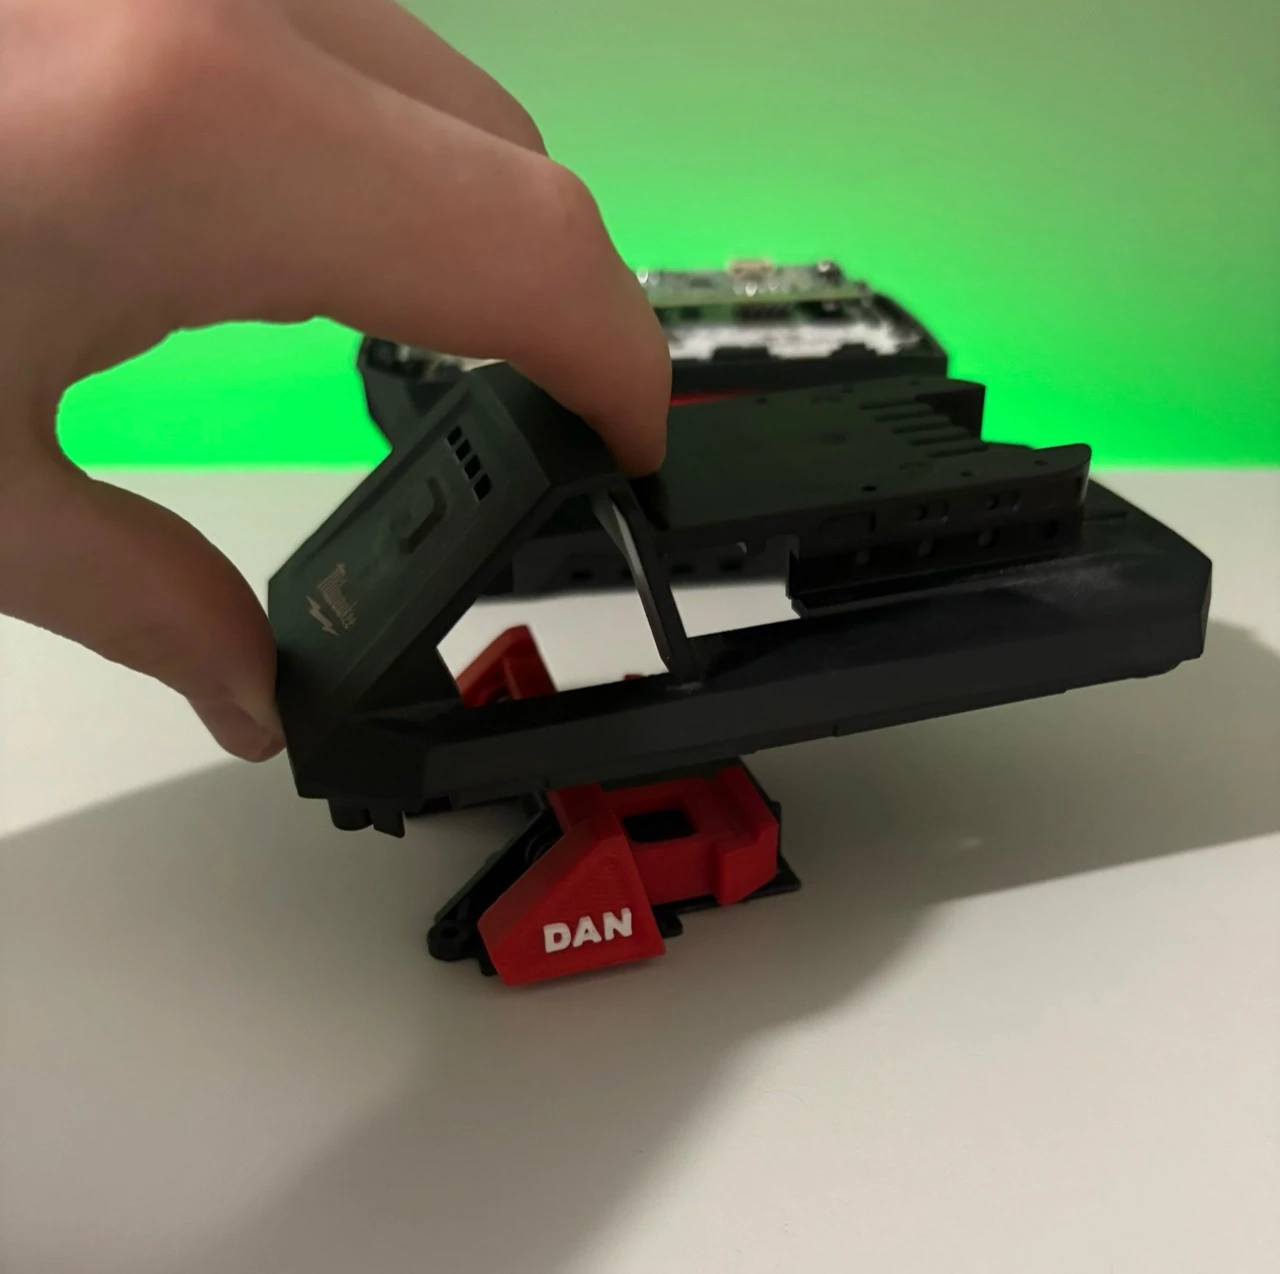
3. Fit the new buttons and retaining plate.
Use either method below.
Method 1: Buttons on the plate first
- Place the new buttons and original springs on the retaining plate, in the same arrangement as the originals.
- Bring the top casing down over the assembly.
- Squeeze both buttons inward as you bring the casing and plate together.
- Press both buttons a few times to check they move and return normally. If one sticks, check that its spring hasn’t caught.
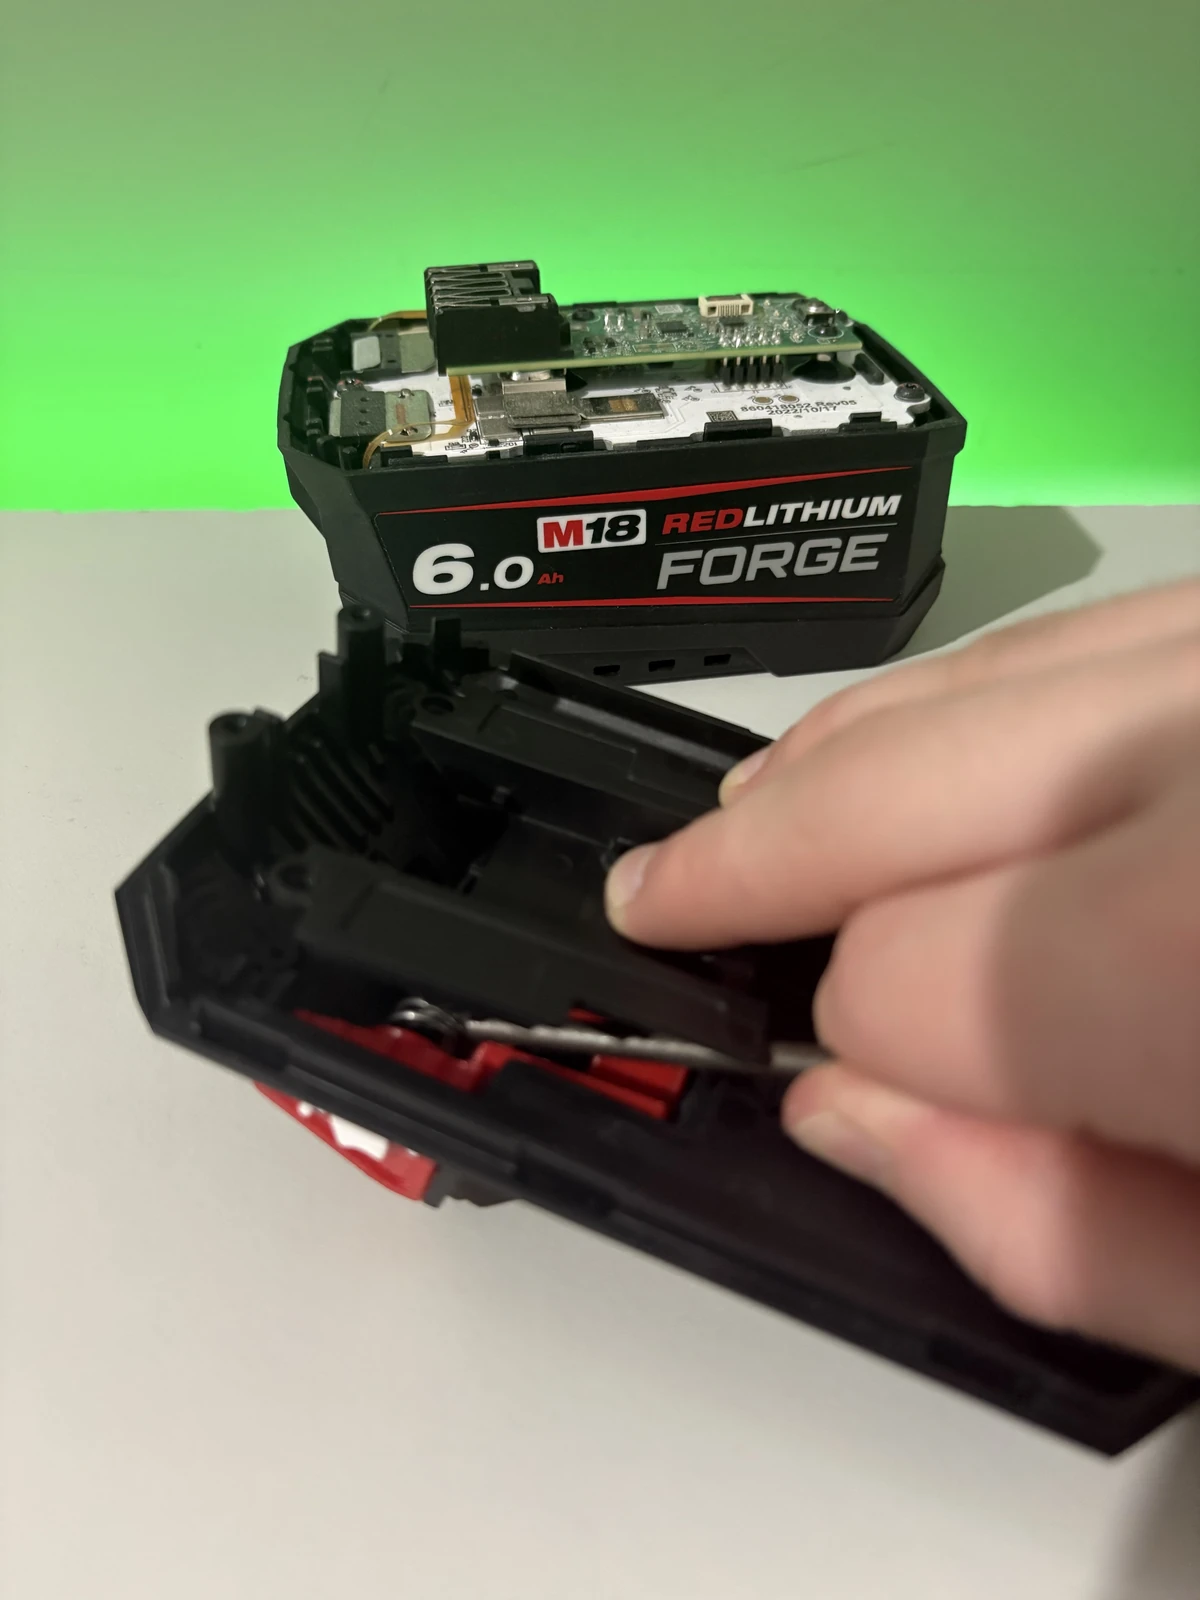
Method 2: Buttons in the casing first
- Place the new buttons and original springs inside the top casing.
- Fit the retaining plate over the first spring and push that side into place.
- Use a thin object (e.g. a screwdriver or loose drill bit) to push the second spring inward while pressing the retaining plate into place.
- Press both buttons a few times to check they move and return normally. If one sticks, check that its spring hasn’t caught.
Use the tool only on the detached lid, away from the battery body. Do not bend the spring or use the screws to pull a misaligned plate into place.
4. Refit the retaining plate and top cover.
Refit the four T8 screws. Place the cover back on evenly, then tighten the four outer screws firmly by hand with the T10 bit.
Tighten the screws securely, but do not over-tighten or strip them. The cover should sit flush before the battery is used.
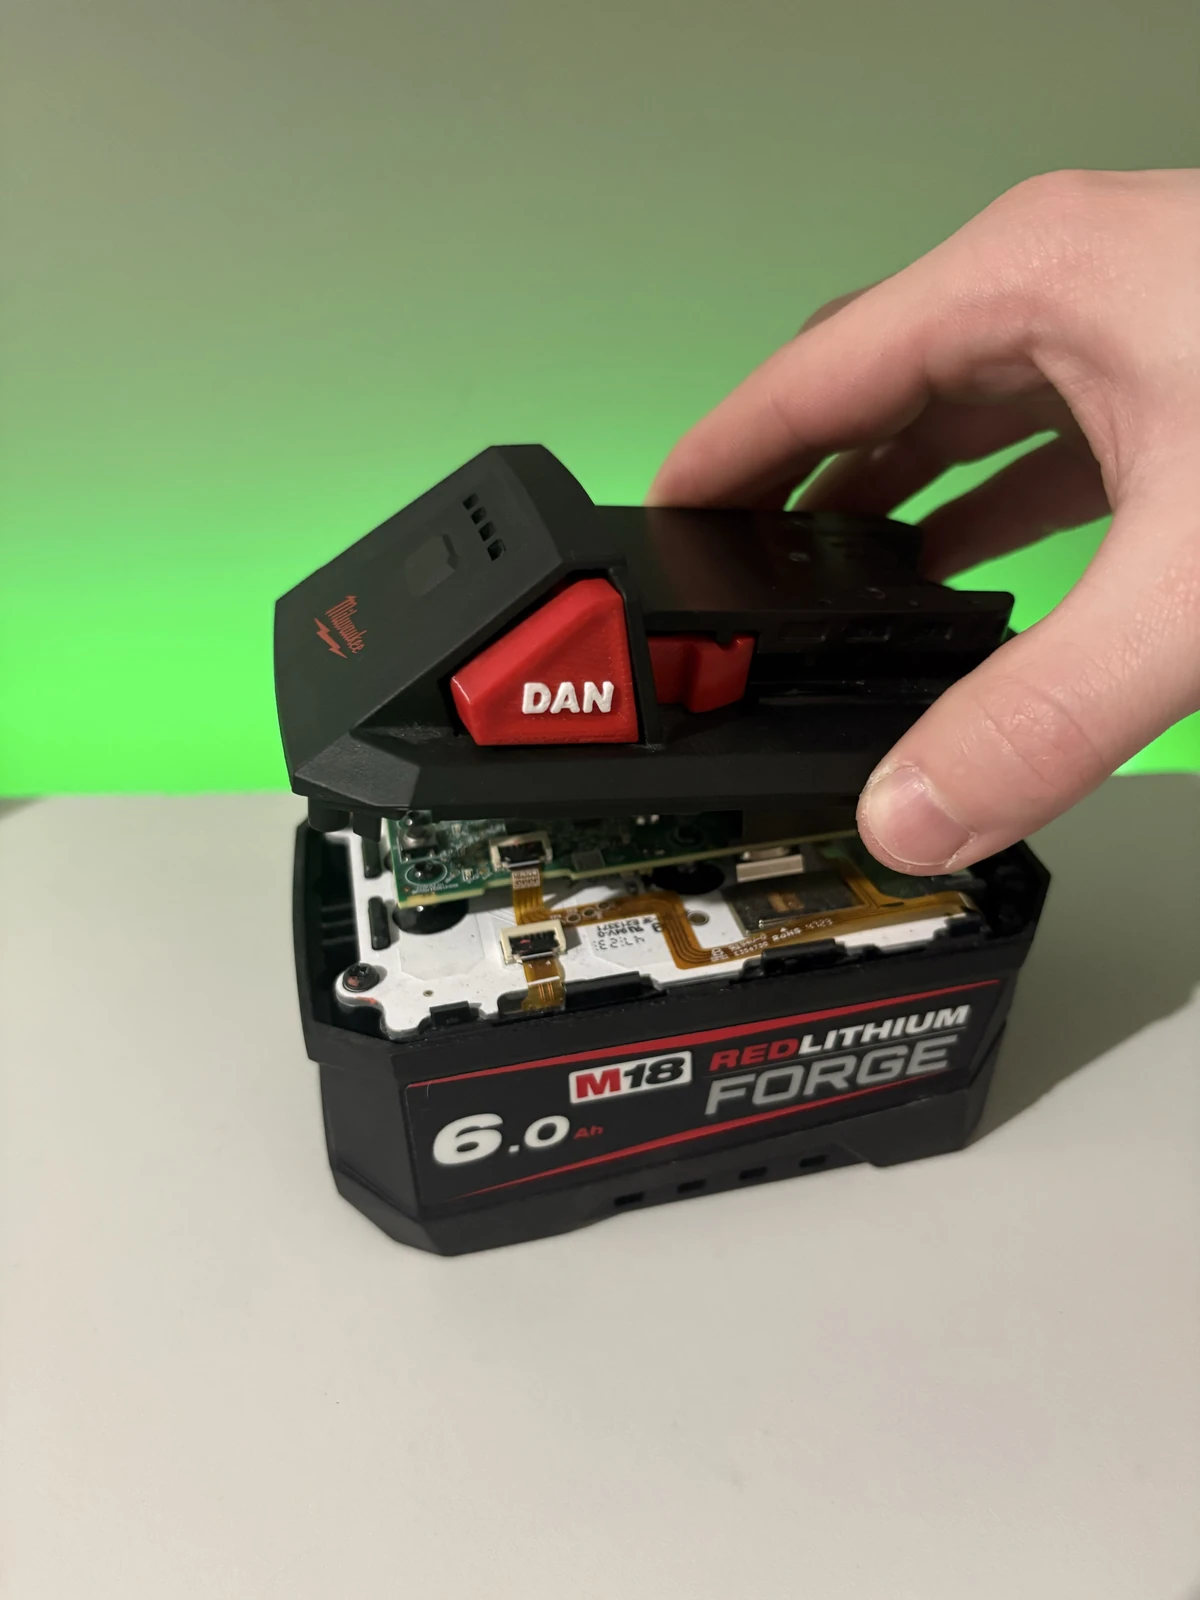
5. Check the buttons work before using the battery.
Press the new buttons a few times to make sure they move freely and return properly.
If a button sticks, feels wrong, or the cover does not sit flush, stop and contact Z Battery Buttons before using the battery.
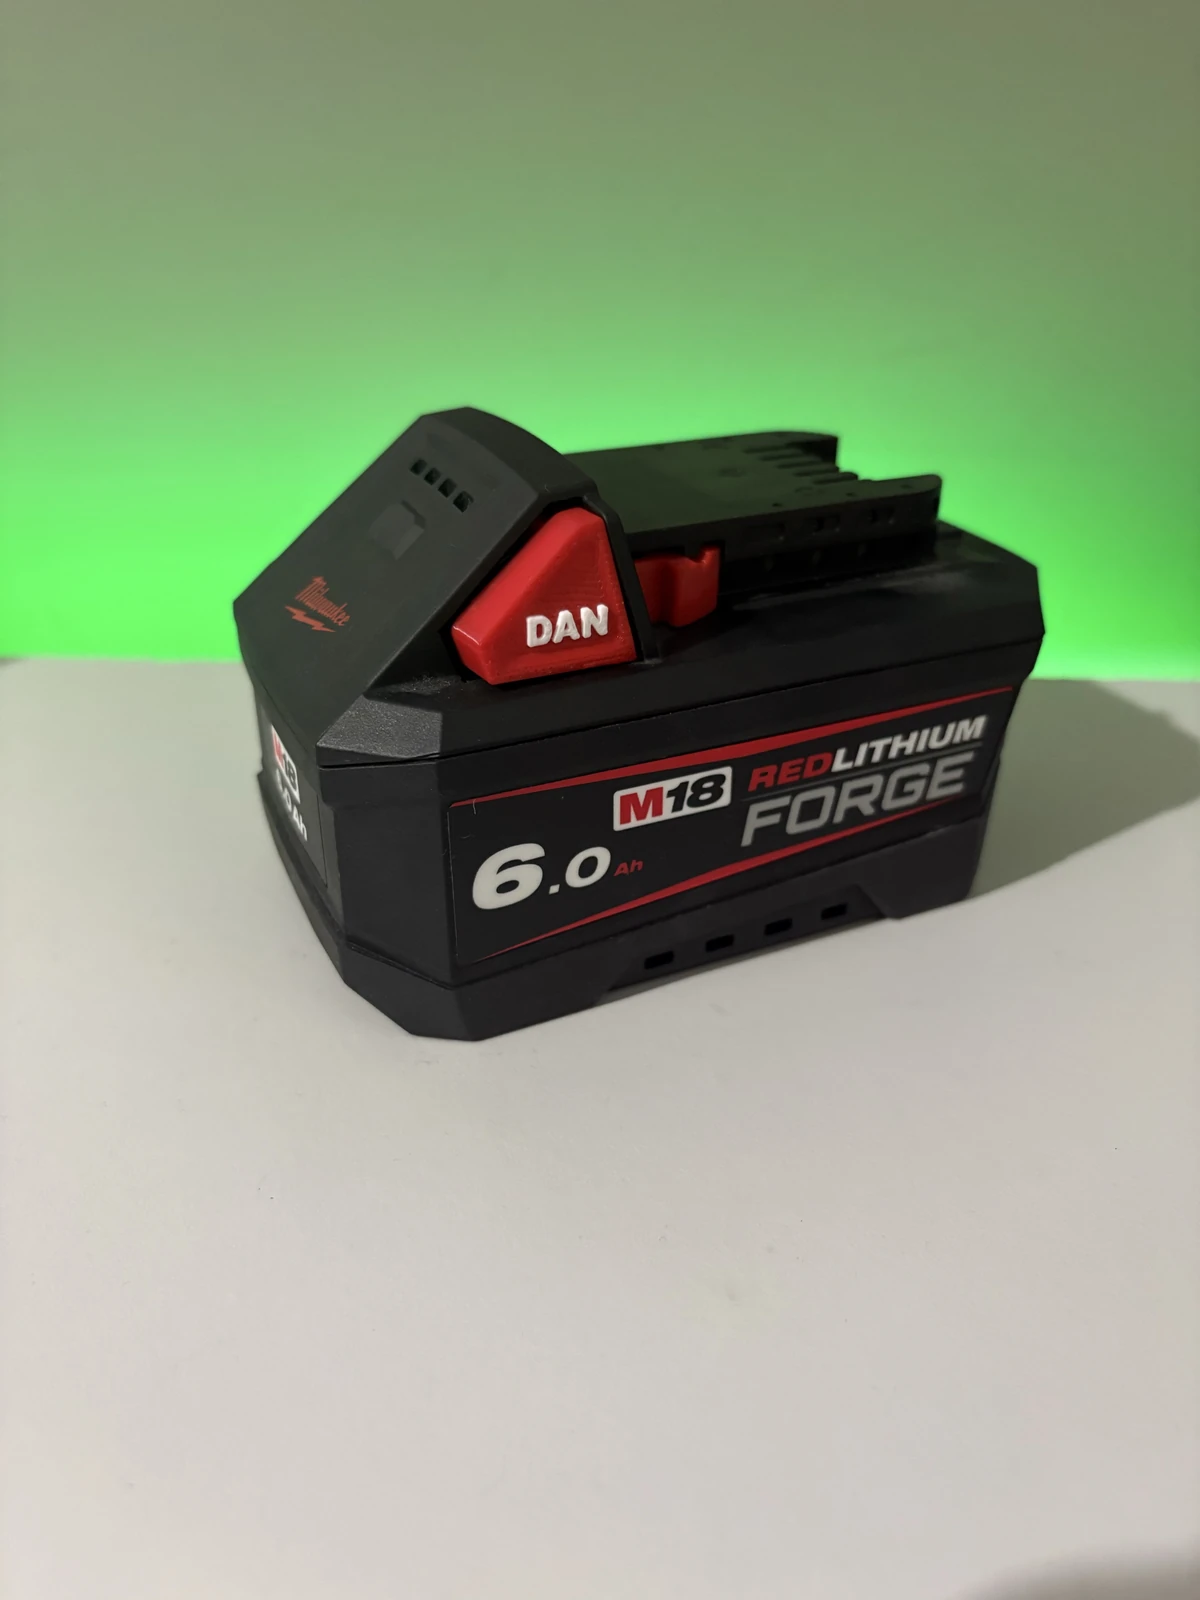
If the buttons do not fit cleanly, stop and contact Z Battery Buttons. Do not force them.
Z Battery Buttons are third-party accessory parts designed by Zurik Innovations for use with Milwaukee batteries. Zurik Innovations is not affiliated with, authorized by, or endorsed by Milwaukee. All brand names and trademarks are the property of their respective owners and are used for compatibility and identification purposes only.