Makita Battery Button Replacement Guide for 18V and 40V Batteries
Swapping a Makita battery button is a simple install to the top of the battery.
Before you start
These instructions are for installing a Z Battery Button to your Makita battery. They do not involve opening or touching any of the battery cells, accessing the BMS, or doing electrical work.
- Remove the battery from the tool and charger.
- Only work on a cool, dry, undamaged battery.
- Do not touch or bridge the battery terminals with metal tools.
- Stop if the battery is swollen, leaking, hot, smoking, smells unusual, has damaged casing, or exposes internal parts.
Warranty note: installation involves removing a manufacturer-applied cosmetic seal. Your statutory consumer rights are generally protected, but specific express-warranty terms vary by brand. See the warranty FAQ below.
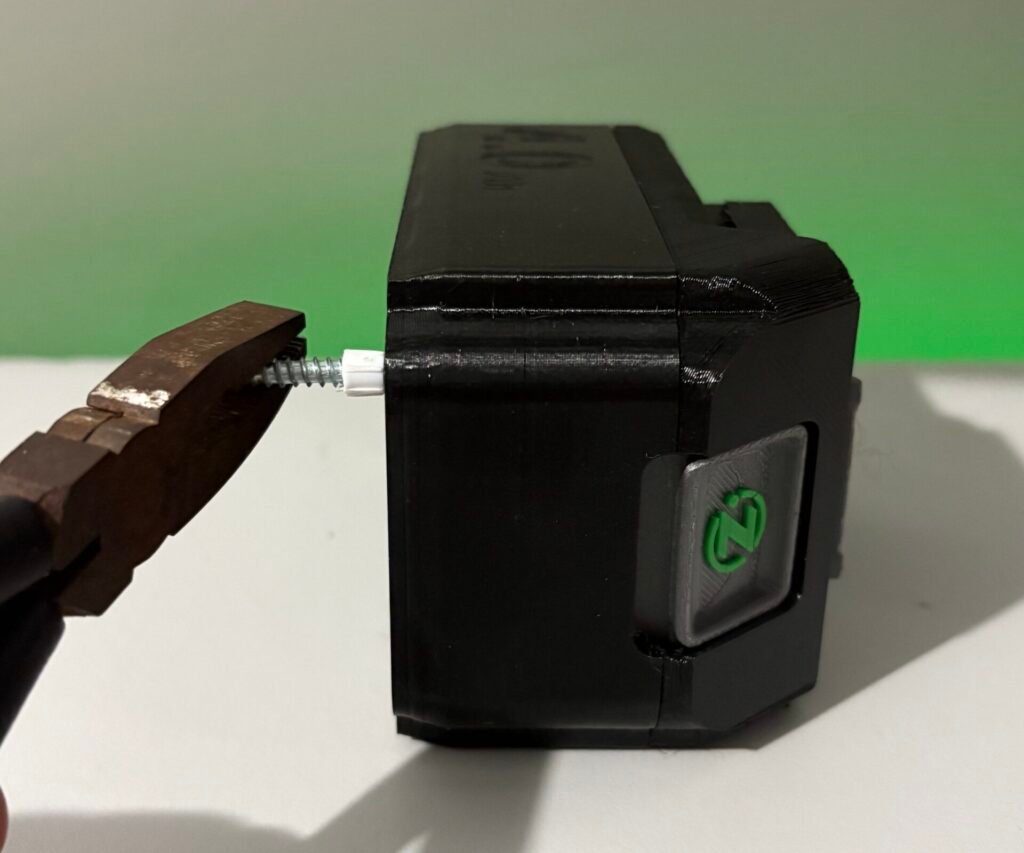
1. Remove the tamper-evident plastic plug if fitted.
Some batteries have a plastic plug over the screw. If yours does not, skip to Step 2.
Method 1, recommended: wind a small sharp self-tapping screw lightly into the plastic plug, grip the screw head with pliers, and pull the plug out. A screw around 2.5-3.0 mm diameter and 8-12 mm long is a good starting point. Do not drive it deep enough to damage the security screw underneath.
Method 2, fallback: drill a shallow hole through the plastic plug using a bit just large enough for the supplied T10 security bit. Insert the T10 bit until it engages with the screw, then unwind the screw. As the screw backs out, it may lift the plastic plug with it.
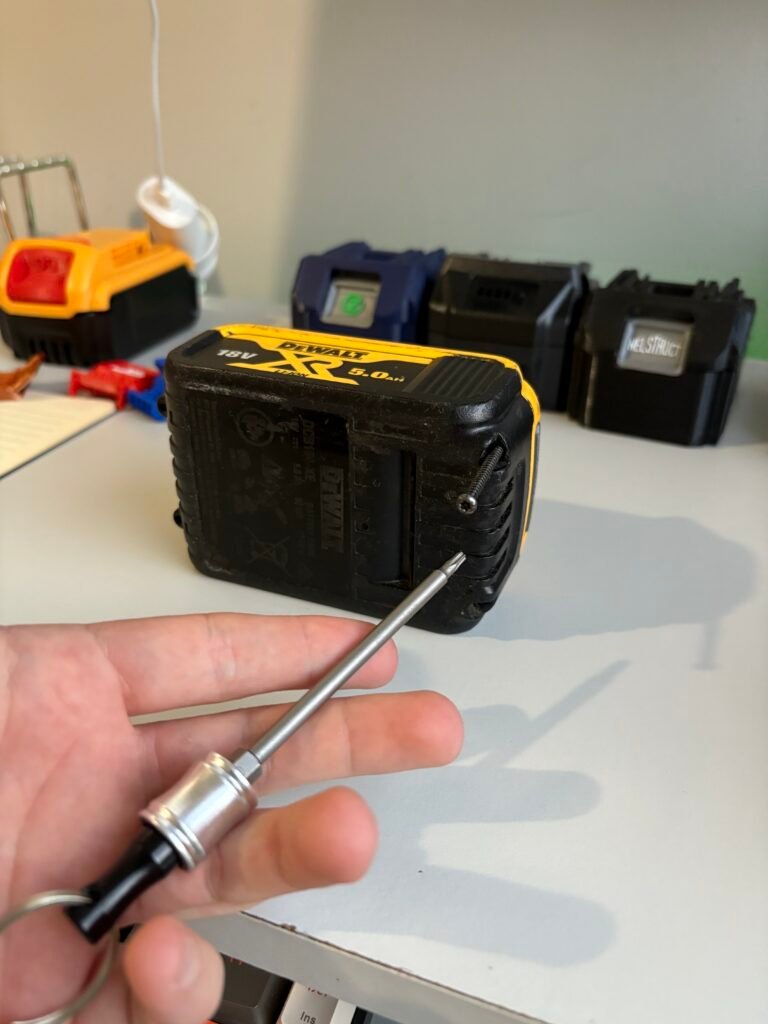
2. Undo the four top screws and lift off the top cover.
Use the supplied T10 security bit. Keep the battery flat and lift the cover straight off.
Only remove the exterior top cover. Do not touch the terminals, metal contacts, circuit board, cells, or any internal parts.
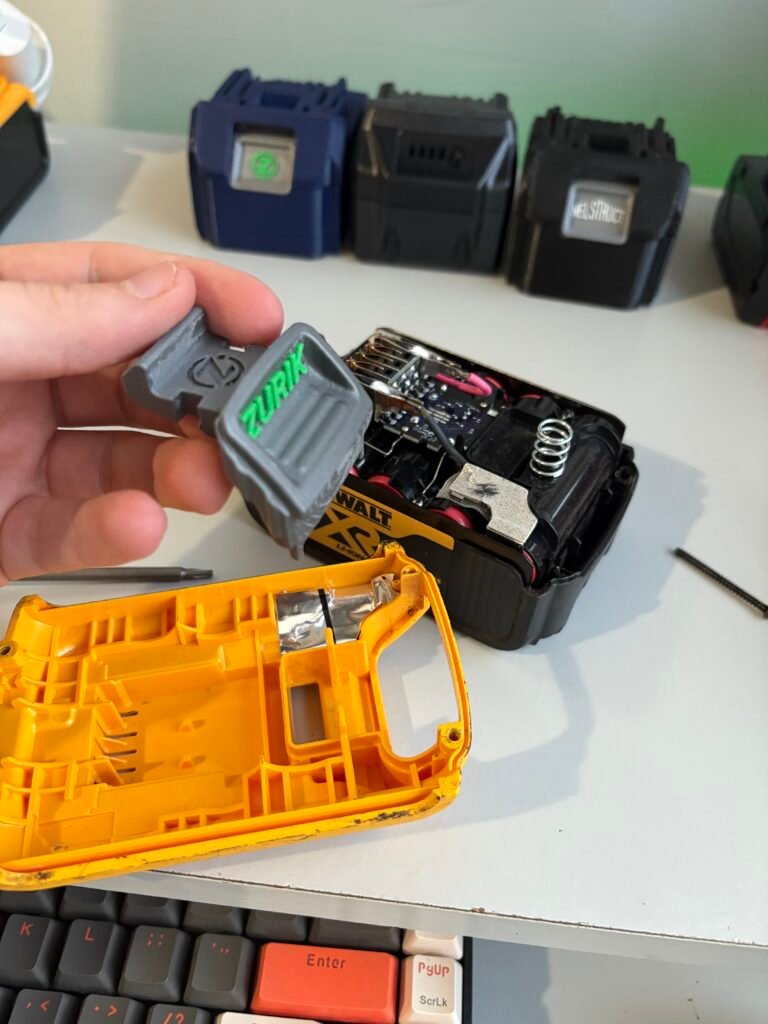
3. Swap the original button for the Z Battery Button.
Lift out the original button and place the new Z Battery Button in the same position and orientation.
The button should sit naturally in place. Do not force it, trim it, bend anything, or move any internal parts.
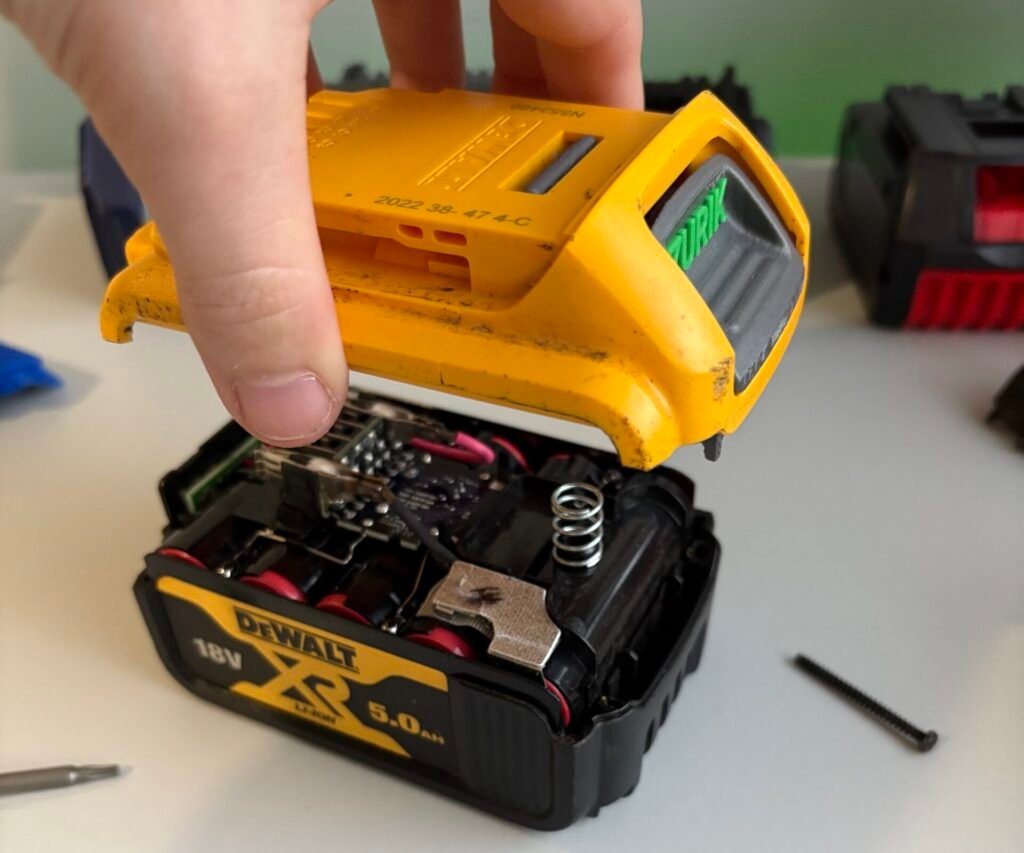
4. Refit the top cover and tighten the four screws.
Place the cover back on evenly, then tighten the four screws firmly by hand with the T10 bit.
Tighten the screws securely, but do not over-tighten or strip them. The cover should sit flush before the battery is used.
5. Check the button works before using the battery.
Press the new button a few times to make sure it moves freely and returns properly.
If the button sticks, feels wrong, or the cover does not sit flush, stop and contact Z Battery Buttons before using the battery.
Will installing a Z Battery Button void my battery warranty?
Good news first: in New Zealand, Australia, the USA and the UK, the law generally protects you here. Simply using a third-party product cannot on its own strip your statutory consumer rights. In most cases, a manufacturer would need to demonstrate the modification directly caused the specific fault they are refusing to cover.
That said, express warranty terms vary by brand, so it is worth a quick check of yours.
Either way, here is the practical reality: manufacturer warranties typically cover factory defects. If a battery has a genuine fault, it usually shows up within the first few months, well before you would ever install a button. A battery that passes that point will in most cases far outlast its warranty anyway.
The real threat to your batteries on site is not a faulty circuit board. It is them walking off the job or getting swapped at a communal charger. That is exactly what Battery Buttons solve.
Still not sure? Put them on your older batteries that are already past their warranty date. Perfect compromise.
Note: this is general information only, not legal advice. For specific warranty concerns, check your manufacturer's terms or seek independent advice.
If the button does not fit cleanly, stop and contact Z Battery Buttons. Do not force it.
Z Battery Buttons are third-party accessory parts designed by Zurik Innovations for use with Makita batteries. Zurik Innovations is not affiliated with, authorized by, or endorsed by Makita. All brand names and trademarks are the property of their respective owners and are used for compatibility and identification purposes only.